Showing posts with label practical. Show all posts

Friday, 30 October 2015

Work: Hallo'ween Sign Writing

I am lucky enough to work in a shop where creativity is encouraged and, also, my boss knows how much I enjoy being creative so gives me lots of fun and craftsy tasks to do!
This weekend is Hallo'ween weekend and also we are launching a book/record shop in one of the rooms in our building - so lots happening and LOTS of new signs needed to promote it!

My boss bought 12 large pumpkins and painted them with her daughter and handed me a Posca pen and a Sharpie and asked me to do some lettering on them.

Firstly, she wanted me to write the logos of each of the shops on the smaller pumpkins.


This was really fun because every typeface was different and every logo had a different element, so it meant picking the right pumpkin to fit the text/image on and make sure that it was readable, because the pumpkin is, obviously, a roundish shape!

Next I did the shop logo - The Vintage Emporium


I then opted to do a standard HAPPY HALLOWEEN!


These were then placed together in the window display at the front of the shop.


Then, for the book and record shop, my boss asked me to make a 'Welcome' pumpkin as it was a new section of the shop. I decided to use a mish-mash of different vintage typography styles so make it more eye catching. 
I enjoyed making this pumpkin sign the most! Just cause it was experimental and fun. Soon after I had finished a group of college students came in and were taking photos and asking about how long it had taken me to do, which is great because it means it evoked a reaction and response and that's what I wanted!


I looooove making art on natural materials anyway, so this was a really enjoyable project!

Tuesday, 27 October 2015

Present: Painted Globe

So, a couple of days ago I posted that I was doing a typography based project for someone as a gift and I can now show you the outcome!


It's a painted globe!
Yes, my friend is a keen adventurer and I was unsure on what to get him for his birthday so I decided I would paint a globe to tie in with his love of travelling.

I bought the globe from my work place.


I decided to paint over the map so that I would have a blank canvas to put my work on, however quite soon after doing this I wished that I hadn't and had left the map as a background!! But it was too late and I had to commit myself to an idea. I looked up didn't quotes about travel in the hopes of finding something that wasn't too cheesy and settled on the simple phrase 'Adventure Awaits'.


I did a LOT of doodling trying to get the typeface right!


I used paints and pens to try and get the style I wanted and, eventually, settled on using a Posca pen because it meant I have the smoothness of paint but more control.


I struggled for a few days on what to do with the imagery, so I decided to keep it simple and draw some planes puffing out little clouds of smoke with funny expressions on!!


I used a limited colour palette of cream, gold, black, white, blue and green.


Monday, 19 October 2015

Commission: Coffee Table


A little while back, I was approached and asked to paint a coffee table for a client. I have never painted furniture before so, of course, I just said YES and that I'd be willing to give it a go! She had seen my henna designs and asked if I could do something similar on the table.

Due to the nature of henna, there is no peniciling in the design first as you are applying it to your skin, so I used the same approach whilst doing the table. I gave myself some basic guidelines, so I could be central/have a perfect circle/etc., and just went for it!

I used a wood stain that the client had provided for me for the pattern design. This worked well as, instead of creating a solid, brown line it had thinner painted sections and heavier painted sections which created a nice effect.


Due to the nature of 'just going for it' it does mean you have to concentrate quite hard when you're trying to make a symmetrical pattern! There are definitely a few mistakes in amongst the design however, I quite enjoy that. Makes it feel like it has been done by hand and not in a factory. I may try and come up with some grid system if I am ever to do this sort of thing again (which I would actually love to do!)

Both myself and the client were happy with the outcome. She even sent a photo of it in her home to me which was very nice!!

Friday, 20 March 2015

Practical: Williams Handmade Workshop and Gallery

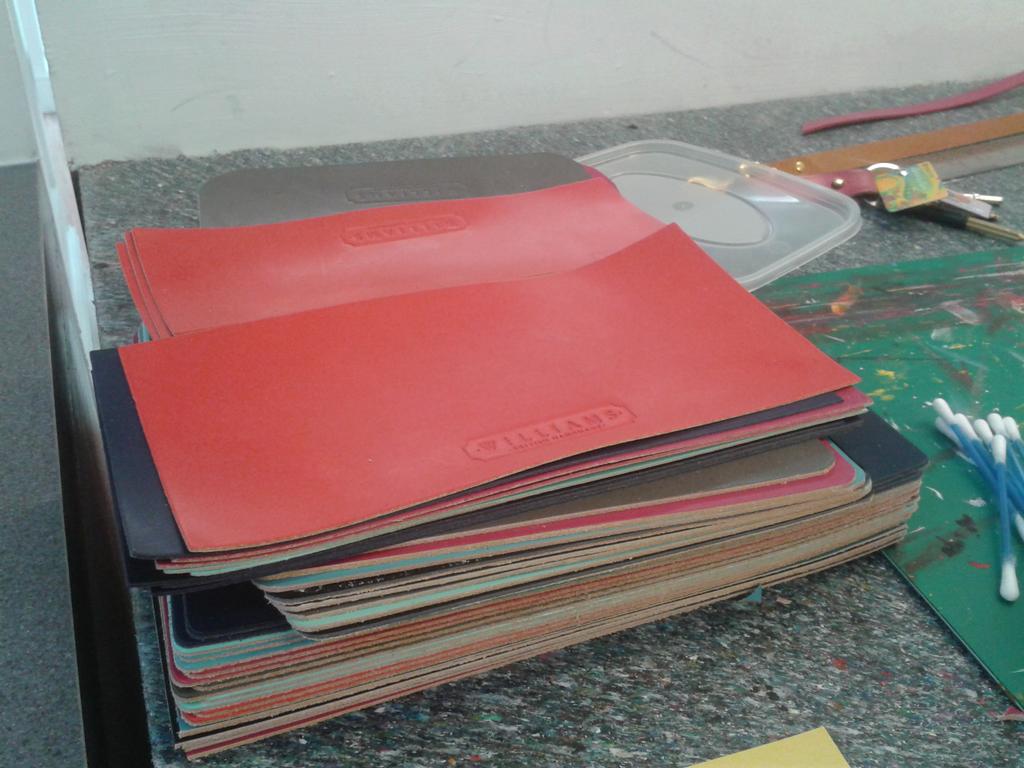
I have done a couple more days in the leatherwear workshop over the past couple of weeks and have learnt a few more skills to do with leather making. Sarah is very lovely (and very busy!) so isn't in the workshop when I am  there, so she leaves me a pile of things to do and a little note explaining what needs to be done! It's nice being able to discover the skills for yourself and create your own way of working. I have never worked with leather before so everything is brand new to me!

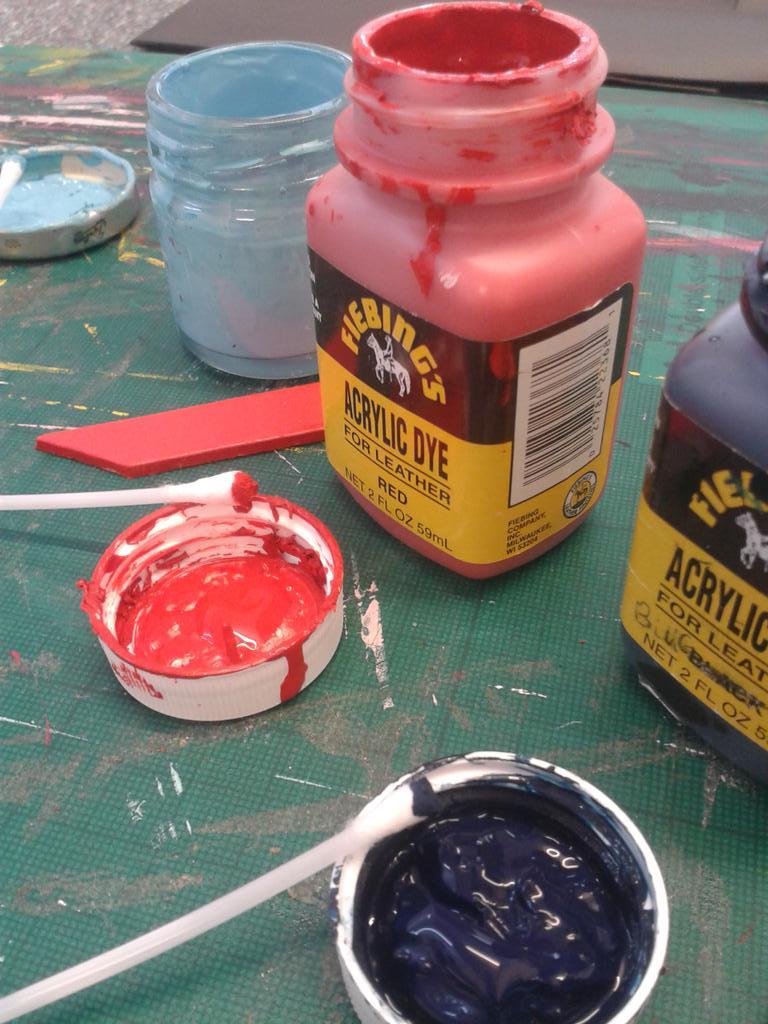
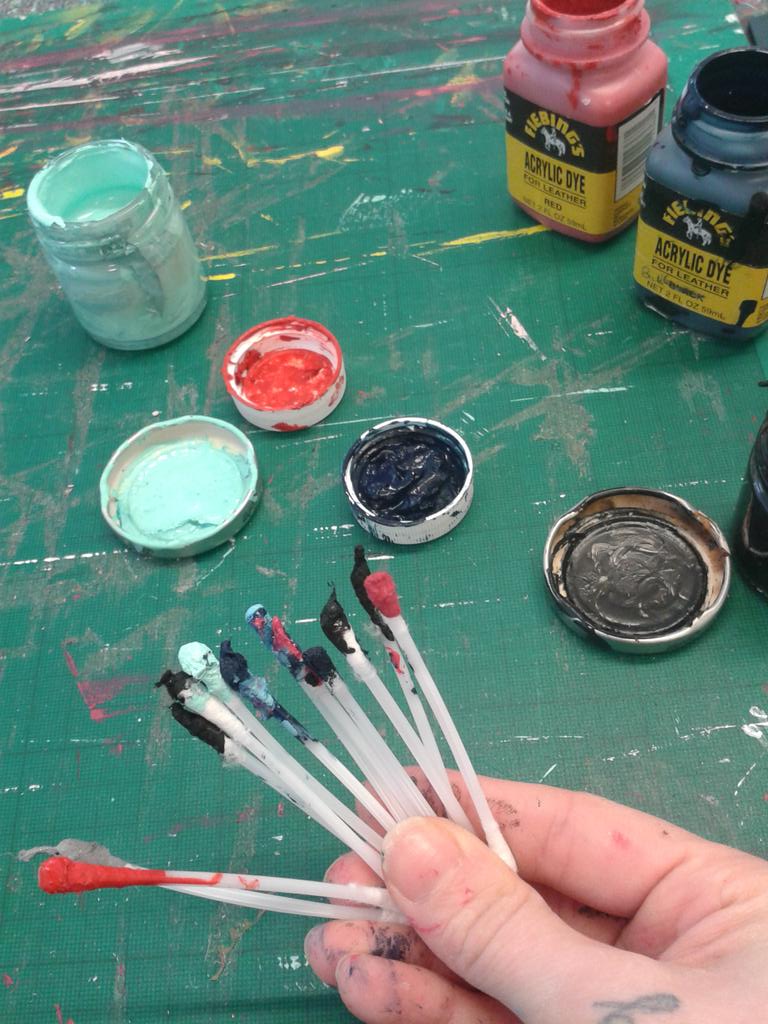
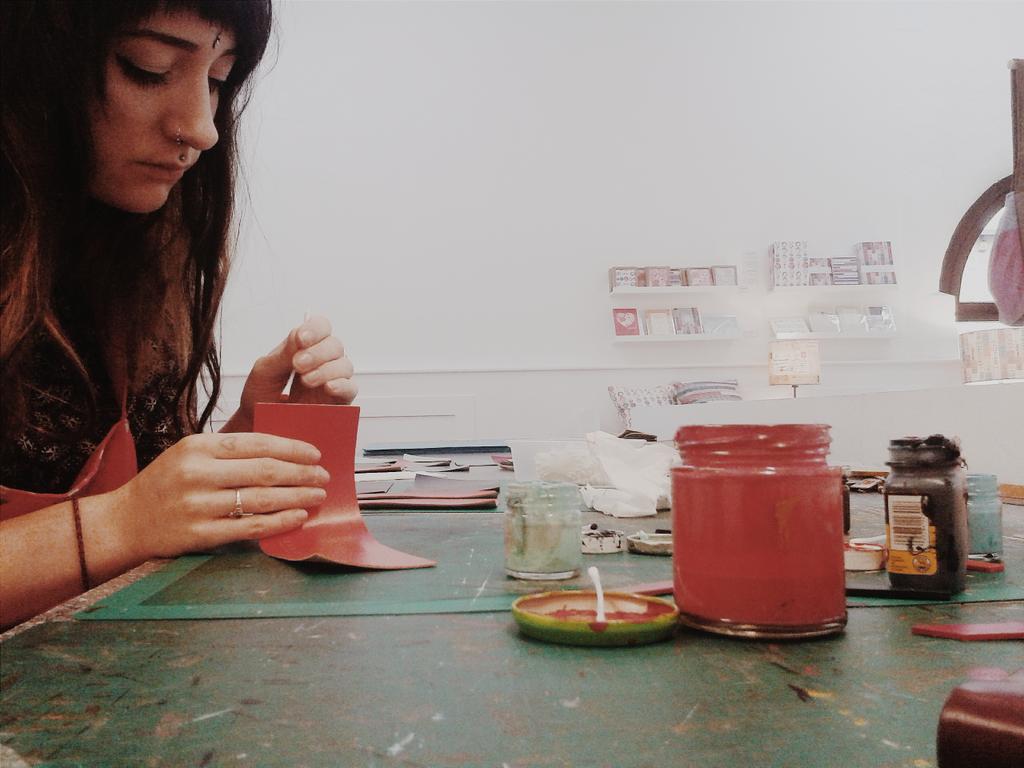
 The past two days I have spent in the gallery workshop, I have been given a painting task to complete. Using Acrylic Dye suitable for leather, I have had to 'edge paint' cut out pieces of leather as a final detail. The paint also helps seal the edges.

Embedded image permalink 
Embedded image permalink Embedded image permalink
The paint marks the leather (and your clothes!) permanently if you put it anywhere you don't want it. You have to act fast and wipe it off quickly if it ends up on any parts of the leather you don't want it on. It took a while to get use to but I'm much quicker at doing it now!

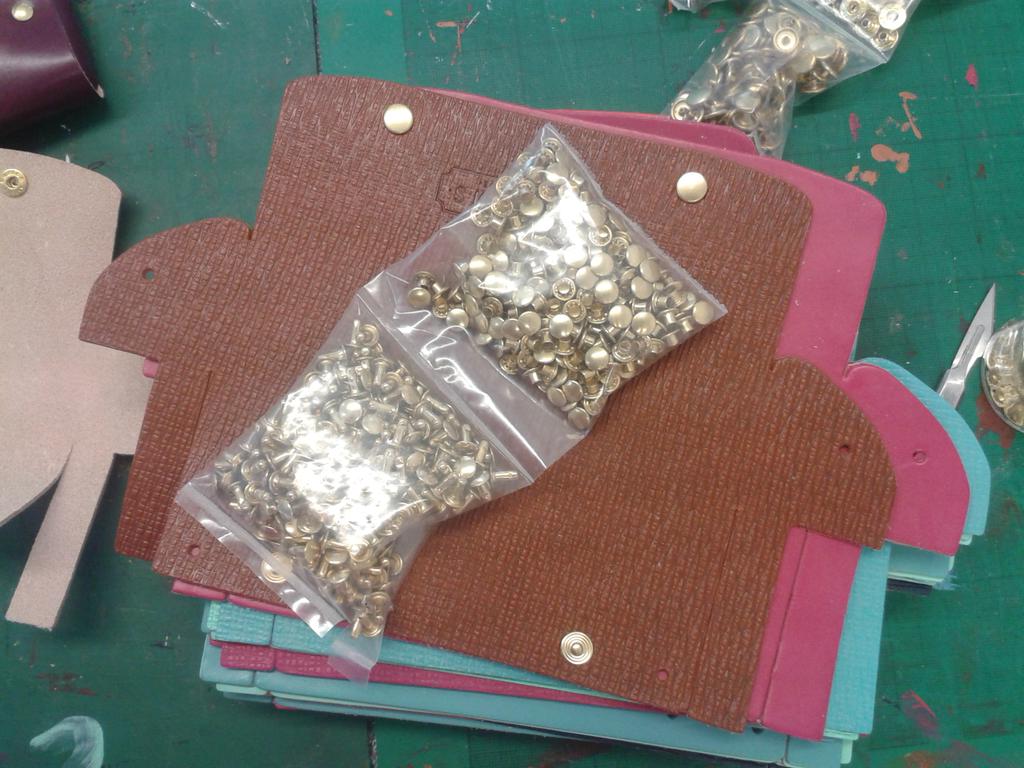
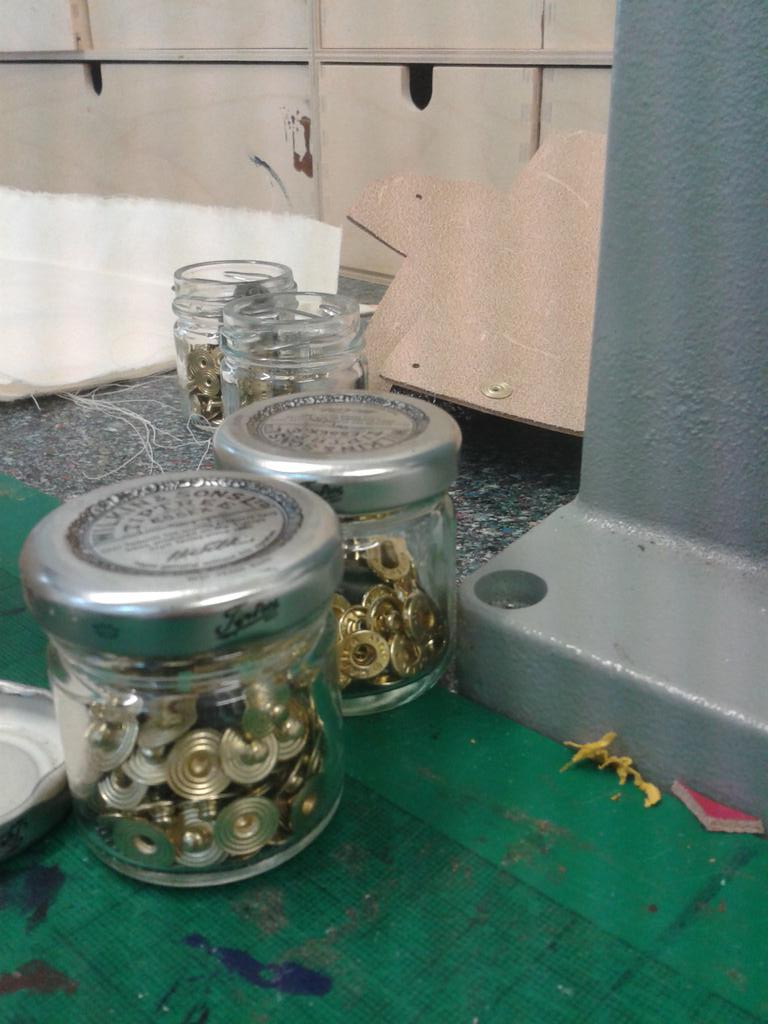
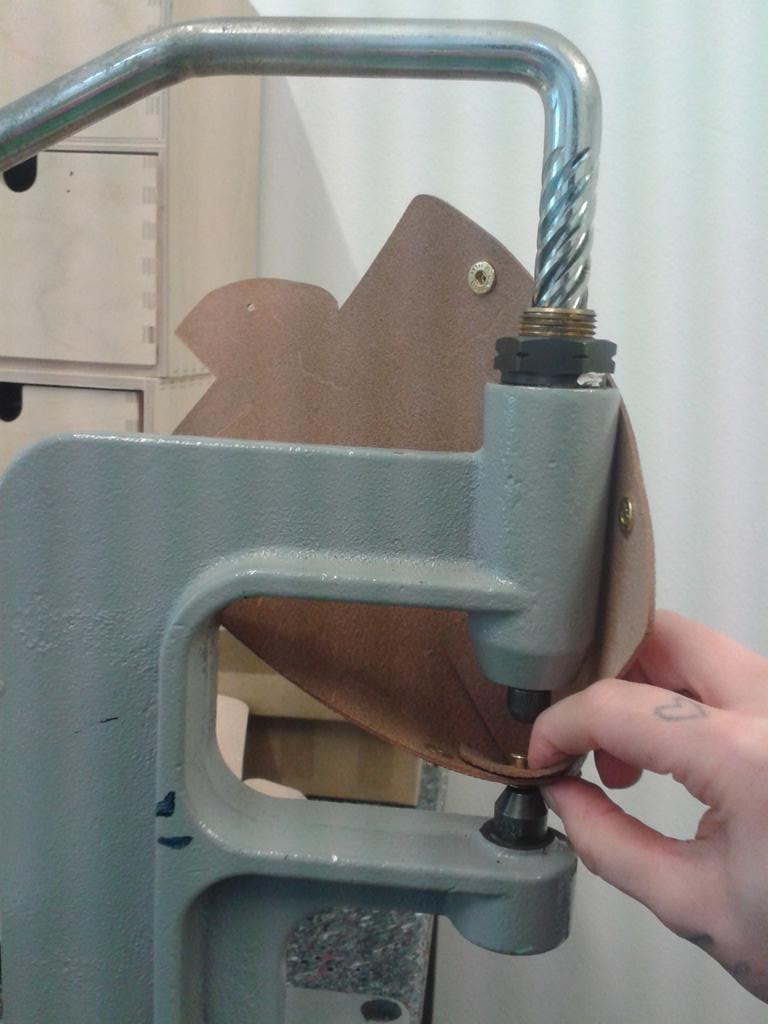
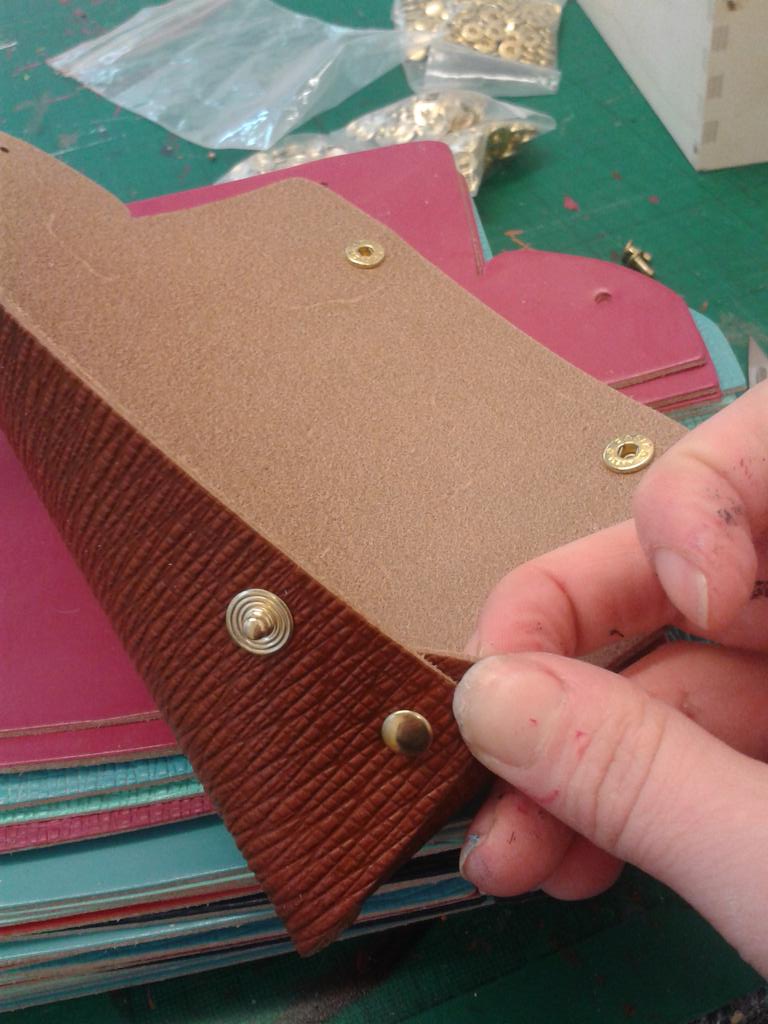
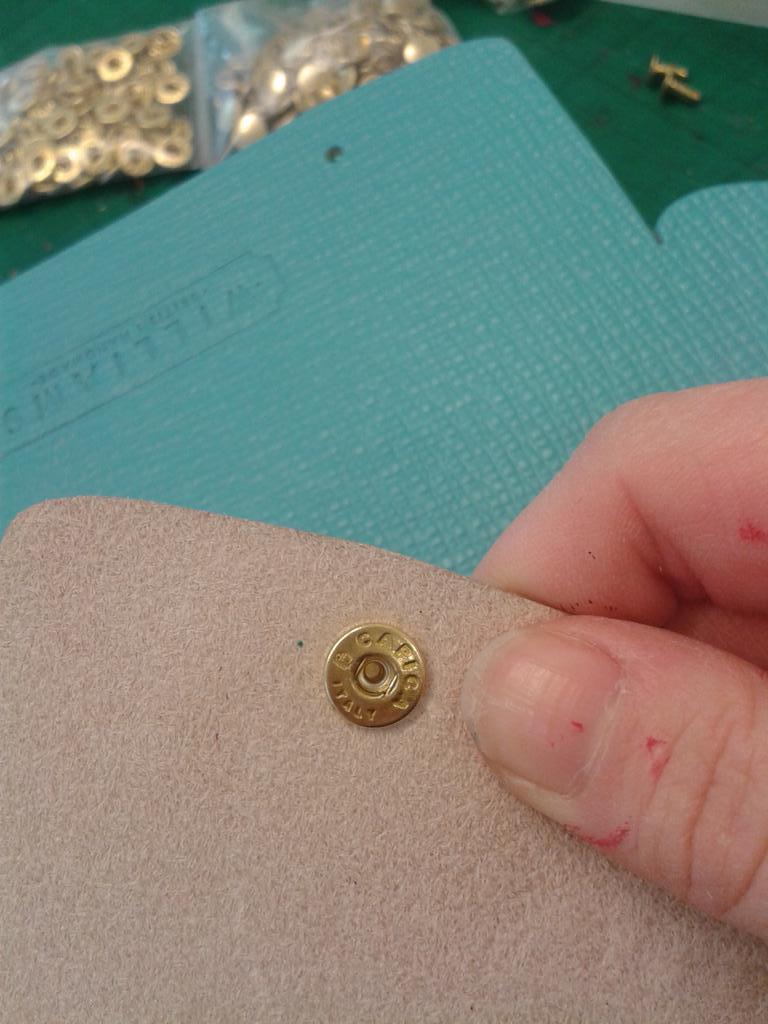
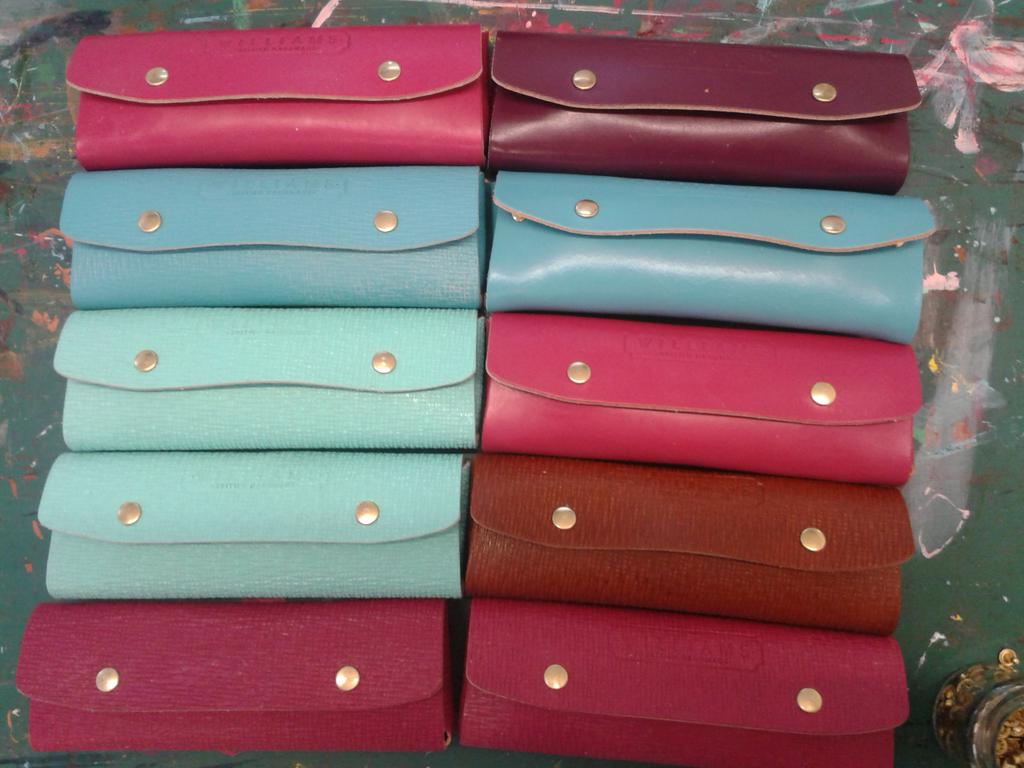
Another job I had been given was to apply poppers and studs to already cut glasses cases to create a final product. This was a bit terrifying at first as I'd only been given a brief demonstration on how to use the stud press however, after having a rummage and working out which attachments went where, I managed to start pressing studs!

Embedded image permalink 
Embedded image permalink Embedded image permalink
Once I got into the swing of things I managed to get quite a lot done!

Embedded image permalink

And voila! A handmade leather glasses case!

Embedded image permalink


Friday, 23 January 2015

Practical: Williams Handmade Workshop & Gallery

Today I had the privilege of manning the new gallery/studio space in Leominster for Sarah, who makes beautiful bags by hand from painted bridle leather.

She left me a small but fun project for the day.
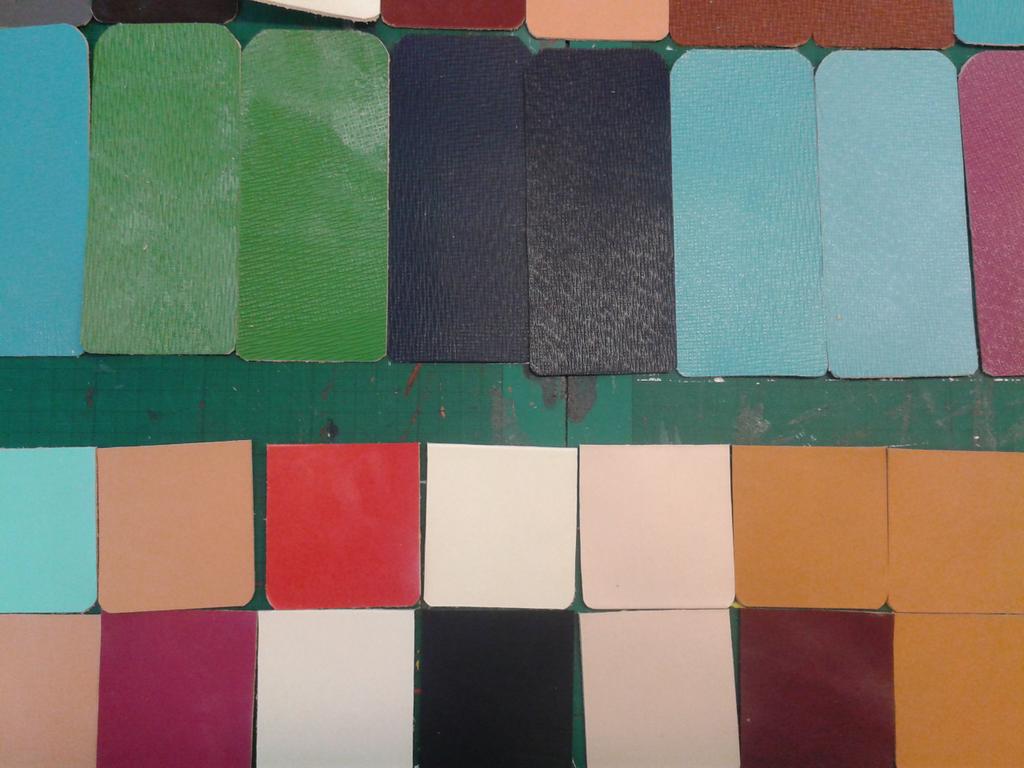
When I arrived I was greeted by a pile of leather cut offs, a couple of templates and all the tools I might need, with the instructions to cut about 20 of each template from the selection of coloured leather.


I'd never cut leather before and have never been very accurate with a scalpel but. lo and behold (and
without any injuries!) the pieces were cut!


Embedded image permalink

The pieces will then be stitched together and folded over, attaching with a popper...


...to make nifty little card wallets!!!


I will be helping out Sarah casually from time to time, so hopefully there will be a few other little projects I can take part in, seeing as I really enjoyed today's challenge!